
How to Add a New Site
Bringing your static website online with Static.app is designed to be incredibly simple and fast. Whether you are uploading a finished project from your computer or migrating a site that is already live on the web, this tutorial will guide you through the process of adding and deploying your new site.
Adding a New Site
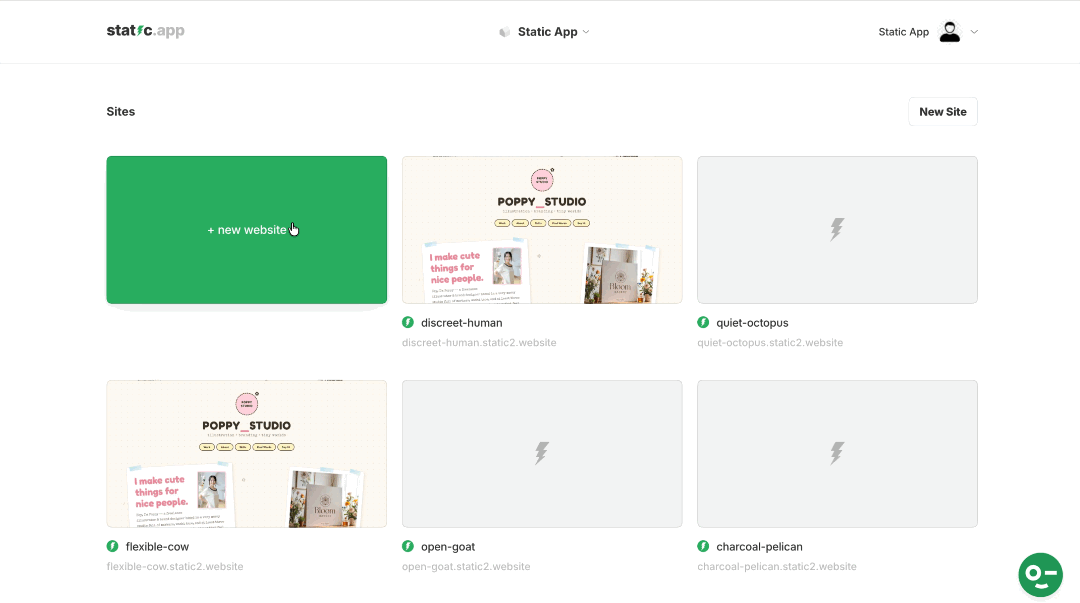
After logging into your Static.app account, you'll automatically be redirected to your Sites page. From here, select the New Site or New Website button to get started. You have two main options for bringing your site into Static.app:
Option 1: Upload a .zip Archive
This is the standard, fastest process for deploying files directly from your local machine.
- Before uploading, ensure all your website's files (HTML, CSS, JavaScript, images, and other assets) are neatly organized within a single folder on your computer. Compress this entire folder into a
.ziparchive.- Note: If you are using a JS framework like React or Vue, ensure you archive the compiled production build folder (often named
distorbuild).
- Note: If you are using a JS framework like React or Vue, ensure you archive the compiled production build folder (often named
- In the upload interface, simply drag your prepared
.zipfile directly into the designated drop zone. Alternatively, click the area to open your file browser and select the archive manually. - Once the file is selected, Static.app will automatically begin uploading, unpacking the files, and deploying your website to our high-performance servers.
Option 2: Migrate an Existing Site from a URL
If you already have a website live on the internet (hosted elsewhere) and want to easily copy and host it on Static.app, you can use our built-in migration tool. This will crawl the live site and package it into a static format.
-
In the "New Site" interface, click the option to Migrate an existing site from a URL.
A Migrate Existing Site pop-up will appear. You will need to carefully configure the following settings based on your needs:
-
Start URL: Enter the full, exact web address of the website you want to migrate (e.g.,
https://www.example.com). The crawler will begin here.Scope: Choose how deep the migration crawler should go to capture pages:
- This page only: The crawler will only copy the exact URL provided and will not follow any links to other pages.
- This domain only: The crawler will follow links and copy pages as long as they stay within the same primary domain (e.g., it will capture
example.com/aboutbut ignore links toshop.example.com). - All subdomains: The crawler will follow links across the primary domain and any associated subdomains (e.g., it will capture both
example.comandblog.example.com).
- Page limit: Set a maximum number of pages to pull from the URL. This is crucial for preventing the crawler from getting stuck on massive sites or infinite loops.
- Render settle (ms): Define how long (in milliseconds) the system should wait for the page to fully load and render in the background before saving it. This is especially useful for pages with complex animations or heavy JavaScript that need a moment to display correctly (e.g., entering
2000tells it to wait 2 seconds).
-
- Click Start Migration. Static.app will crawl the URL based on your specific settings, package the downloaded files, and deploy the cloned site automatically.
Automatic Deployment & Initial Configuration
- Once your
.zipfile is uploaded, Static.app automatically begins uploading and deploying your website to our high-performance servers. - Upon successful deployment, you'll be automatically redirected to the General Tab for your newly added site. Your website is now live with a default Static.app domain (e.g.,
your-site-name.static.domains). While on the General Tab, you can immediately begin customizing your site's Title, Description, and specify if it's a JavaScript Application. You can then explore other settings like Domains, Analytics, and Forms as needed.

Next Steps: